
Adding you website to Google Webmaster Tools is one of the best way to analyze your website performance in search results. Google Webmaster Tools also help your website to get indexed faster. Google Webmaster tools have many features to scale up website performance. You should add your website to Google Webmaster tools and submit your sitemap so that all your latest entries get indexed automatically
Here in this guide, we are going to share the process of creating a Google Webmaster account along with the step wise process to add your website to Google webmaster tools.
- First of all you will have to visit webmaster.google.com.

- Click “Sign in to Webmaster
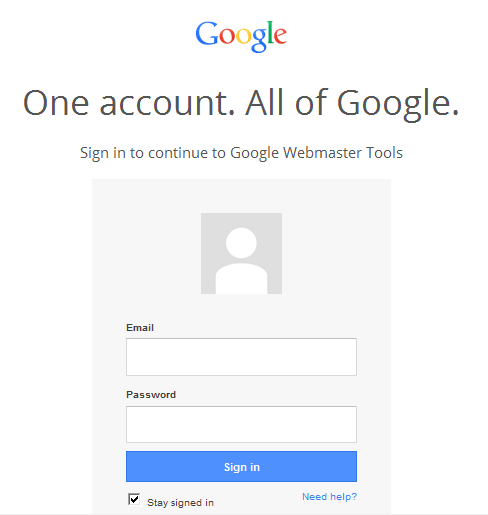
- Enter your Gmail Id and Password
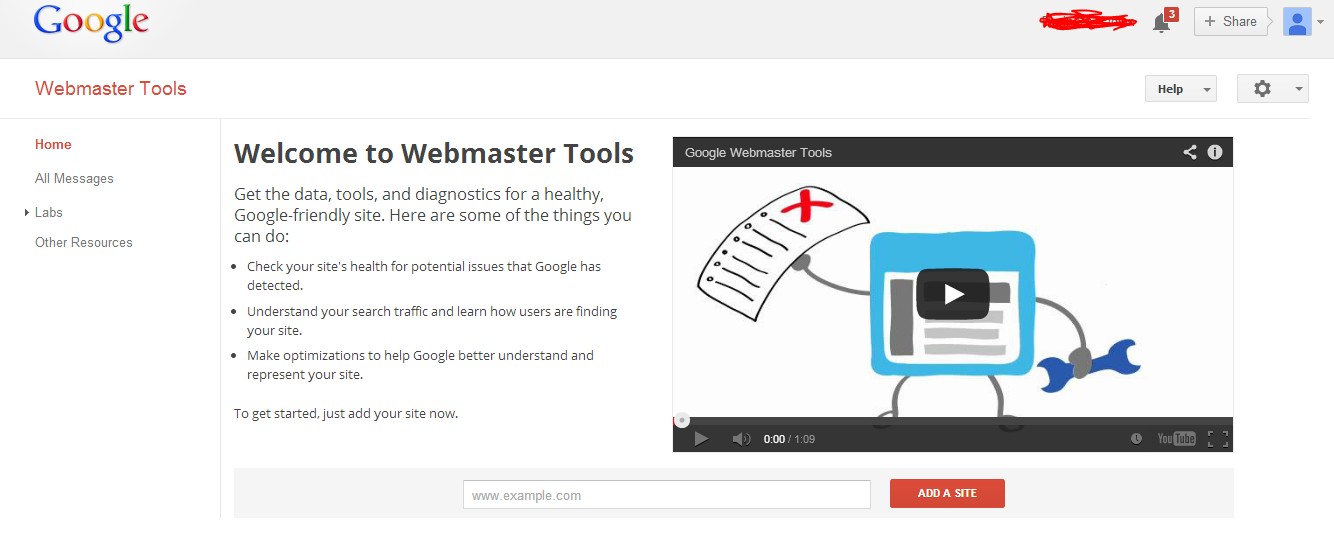
- Enter your Website URL
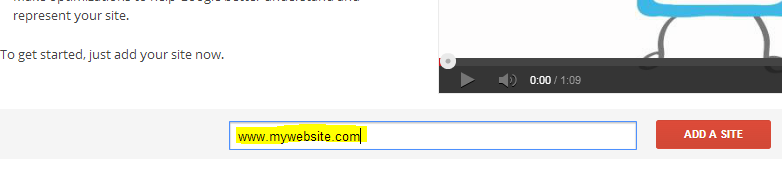
- Then Click “ADD A SITE”.

- Click “Alternate methods”.
- In “Alternate methods”, choose “HTML Tag”
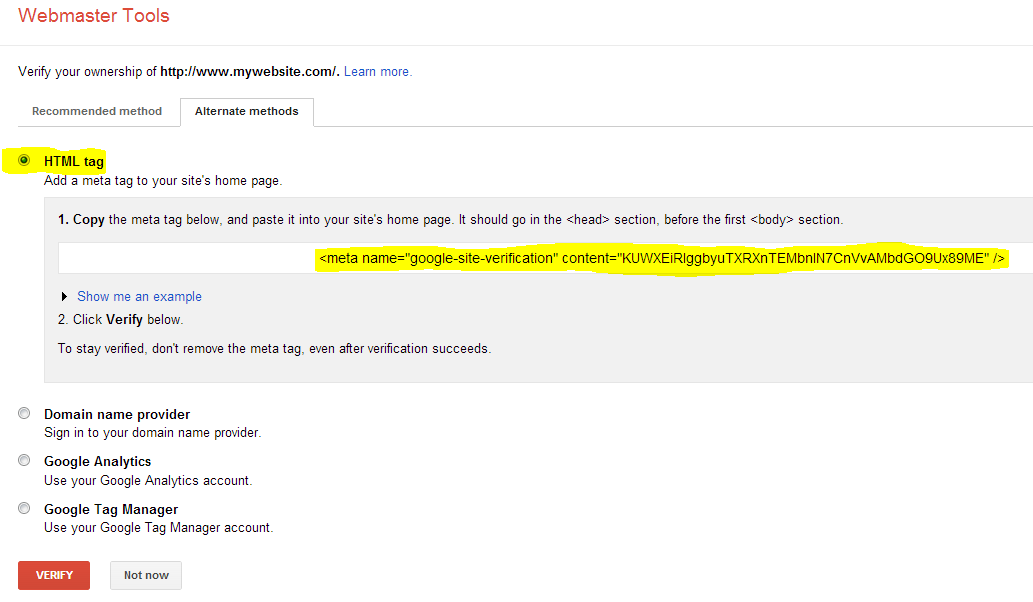
- Copy the Meta Tag code (highlighted).
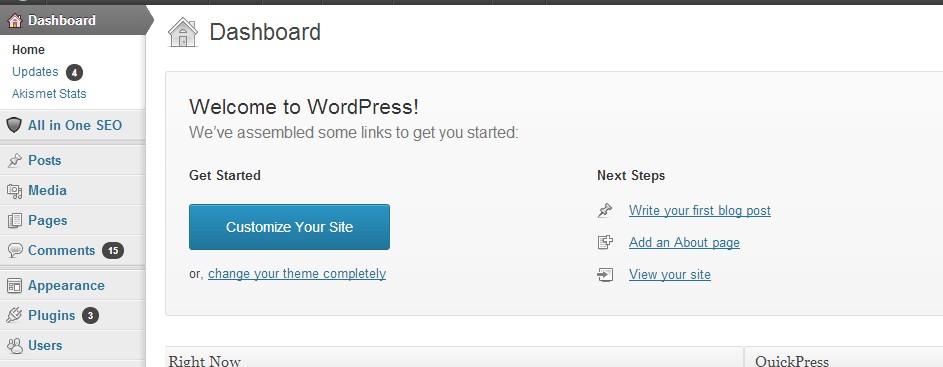
- Now open your website’s WordPress account by entering WordPress Username and Password

- Your Dashboard will be Shown
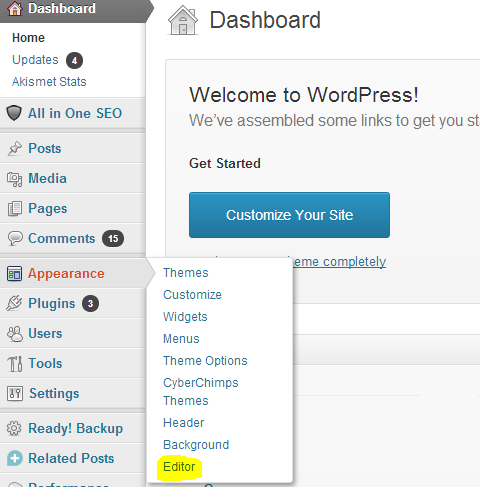
- Click “Editor” in the Appearance Tab
- You will see
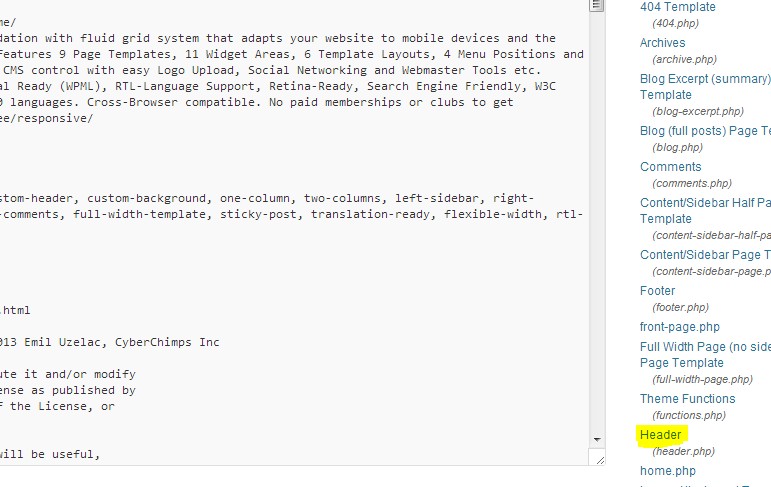
- Click “Header”.
- After opening Header Paste the meta tag code in header just after <head>.
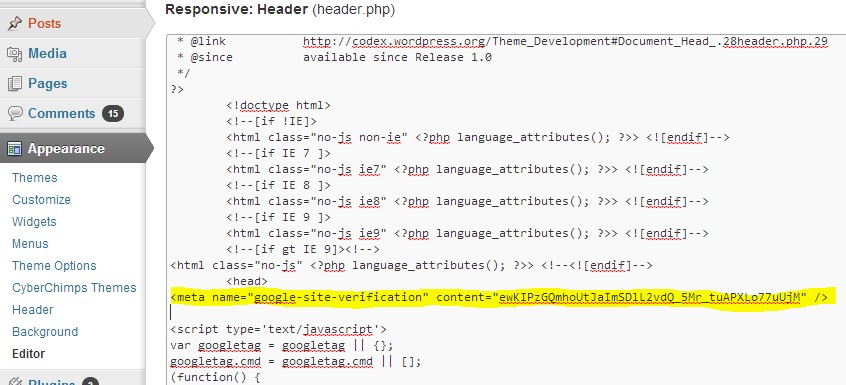
- Click “Update File”.

- Now go to your webmaster Account.
- Click “Verify”.
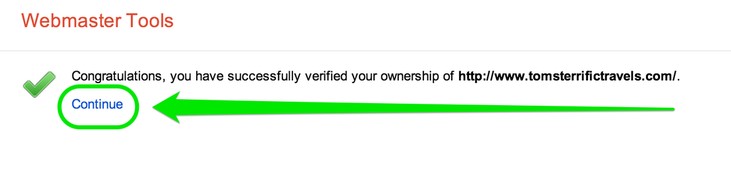
- Your website will be verified then click “Continue”.
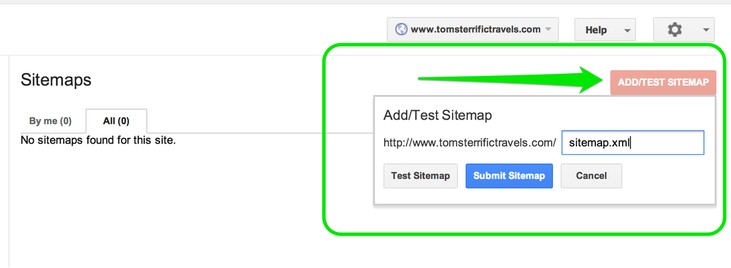
- Now it’s time to submit your Sitemap.

- Enter xml in the given space and click Submit Sitemap.
Now your Google Webmaster Tools account is created and your website is added to it. You will start seeing the analyzed data within 72 hours and all server and website related issues will also be found in there.
This is how you can create Google Webmaster Tools account and add your website or app to it. We hope this have helped you and will keep helping hundreds other.
About the Author: Vish Aggarwal is the founder and CEO of Tecida which is an Internet marketing institute which teaches gives SEO Training in Jaipur city.